A Simple Ruffle
by. Eldaka "Patsy" Terrell
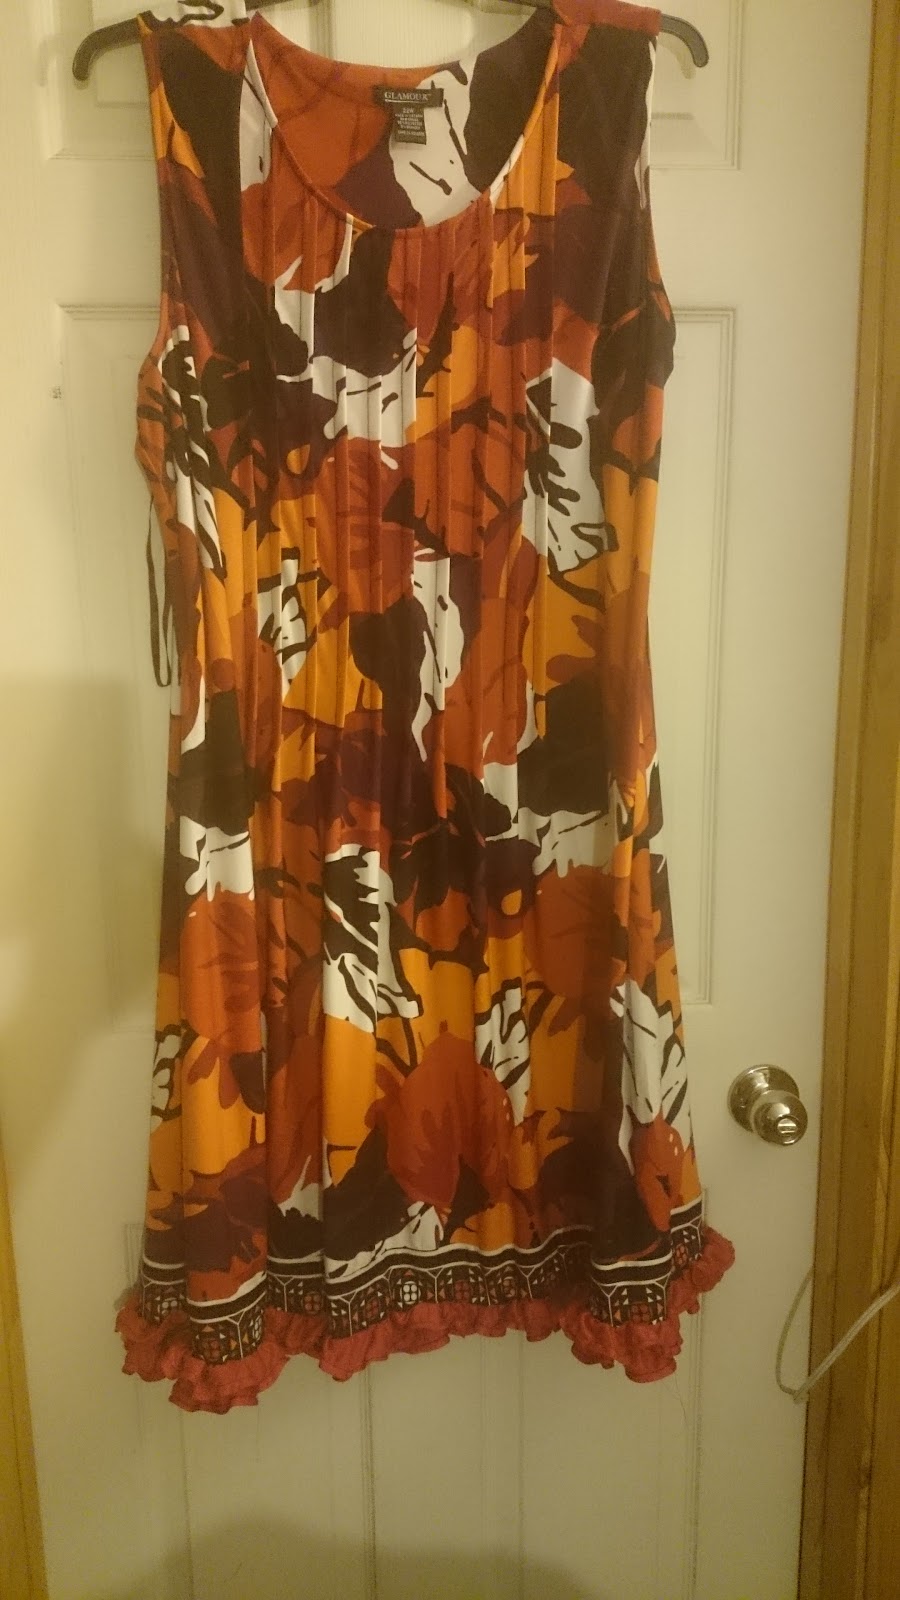
I purchased a plus size dress from Goodwill and it was an absolute exciting find for me. Discovering one that I'm willing to take home at my local store is rare. Perhaps it's because they just don’t get them donated on a regular basis or they are a hot commodity and simply sell out.
 |
| Before |
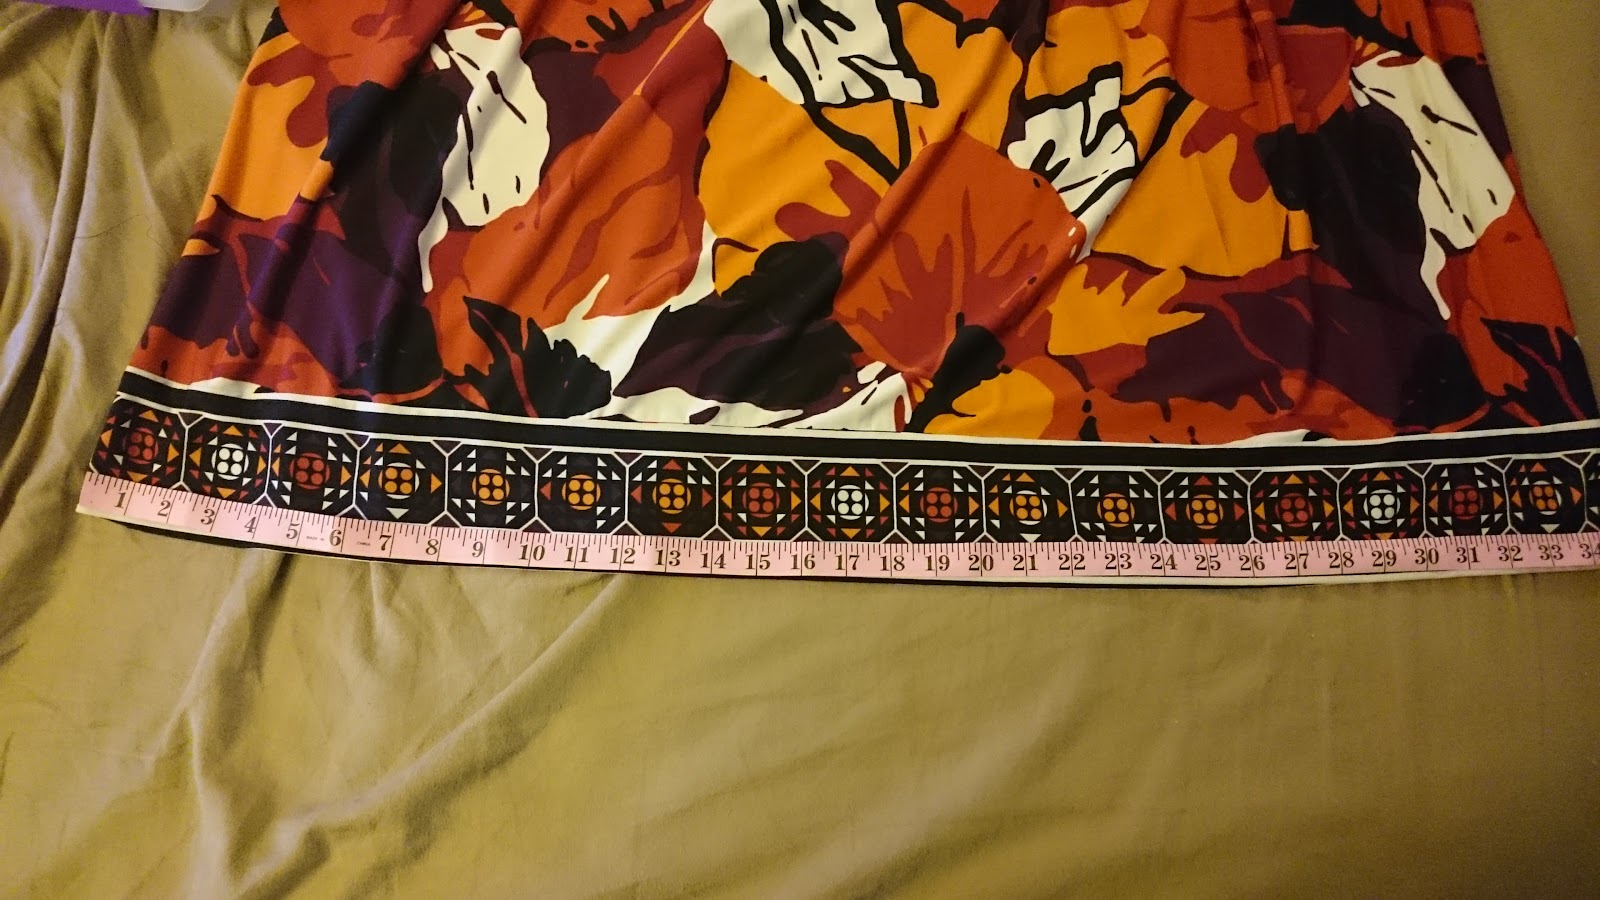
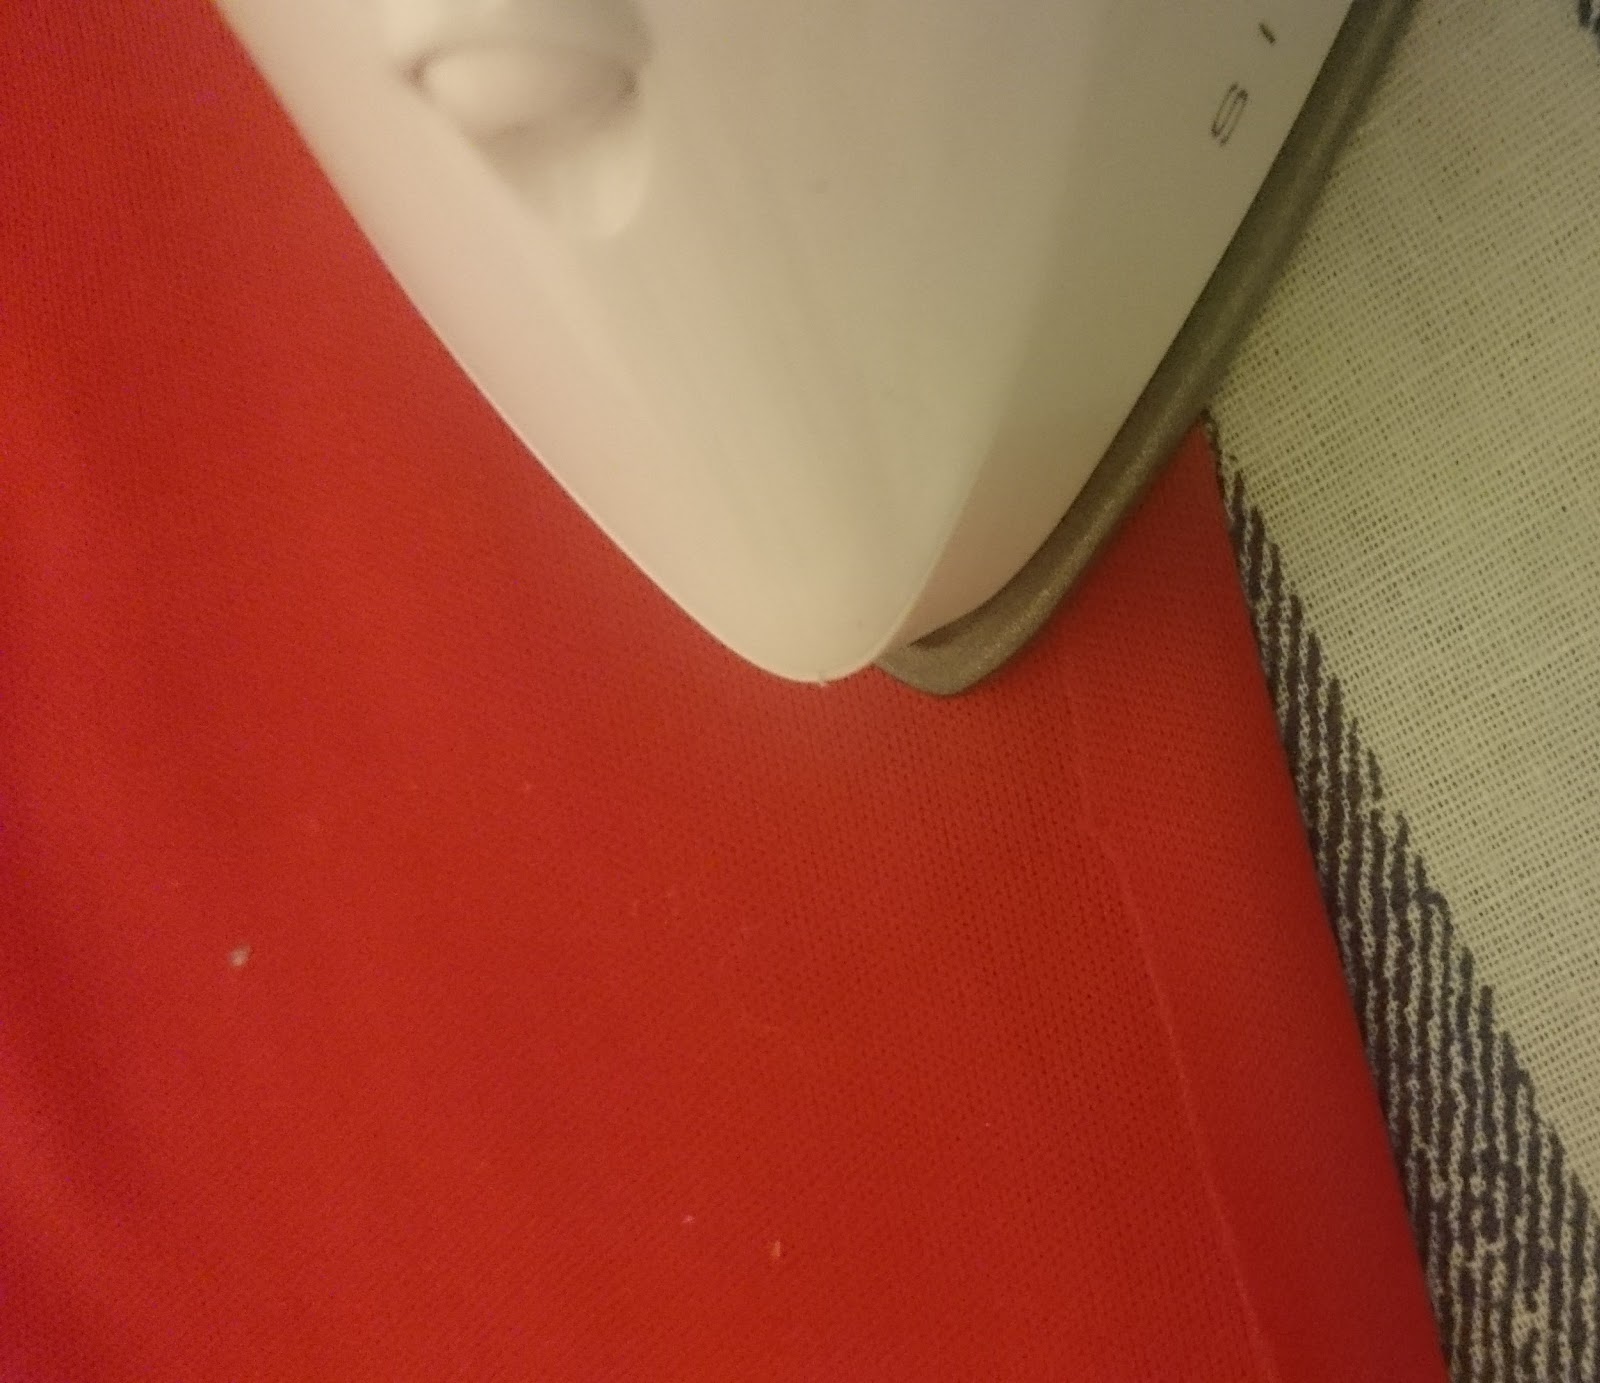
This dress was just my style and full of fabulous color however, it was too short by my standards. Call me old-fashioned, but the shortest dress I am comfortable with wearing should fall just about at knee or longer.
My solution to this problem came to me while reading the craftsy.com sewing blog. “A Ruffle”! Attaching a ruffle should provide length and style at the same time. As always, before getting started a couple of quick tutorials was needed. There is an outline of the resources I used at the end of this post for reference.
What I Did Wrong
There’s only one thing I can say about what I did wrong, “As a beginner never, assume you know everything”. I am confident I will learn to sew and become really good at it, however, I’m not there yet. My attempt to do a ruffle with little to no research was a complete failure and needless to say I ended up having to cut about ¾ of an inch off of my dress. The only other mistake I made was not using a piece of test fabric when I changed my stitch setting. It's a good thing I'm an expert with a seam ripper. Although the task appeared easy, it is always a good idea to research, watch a video or read my blog!
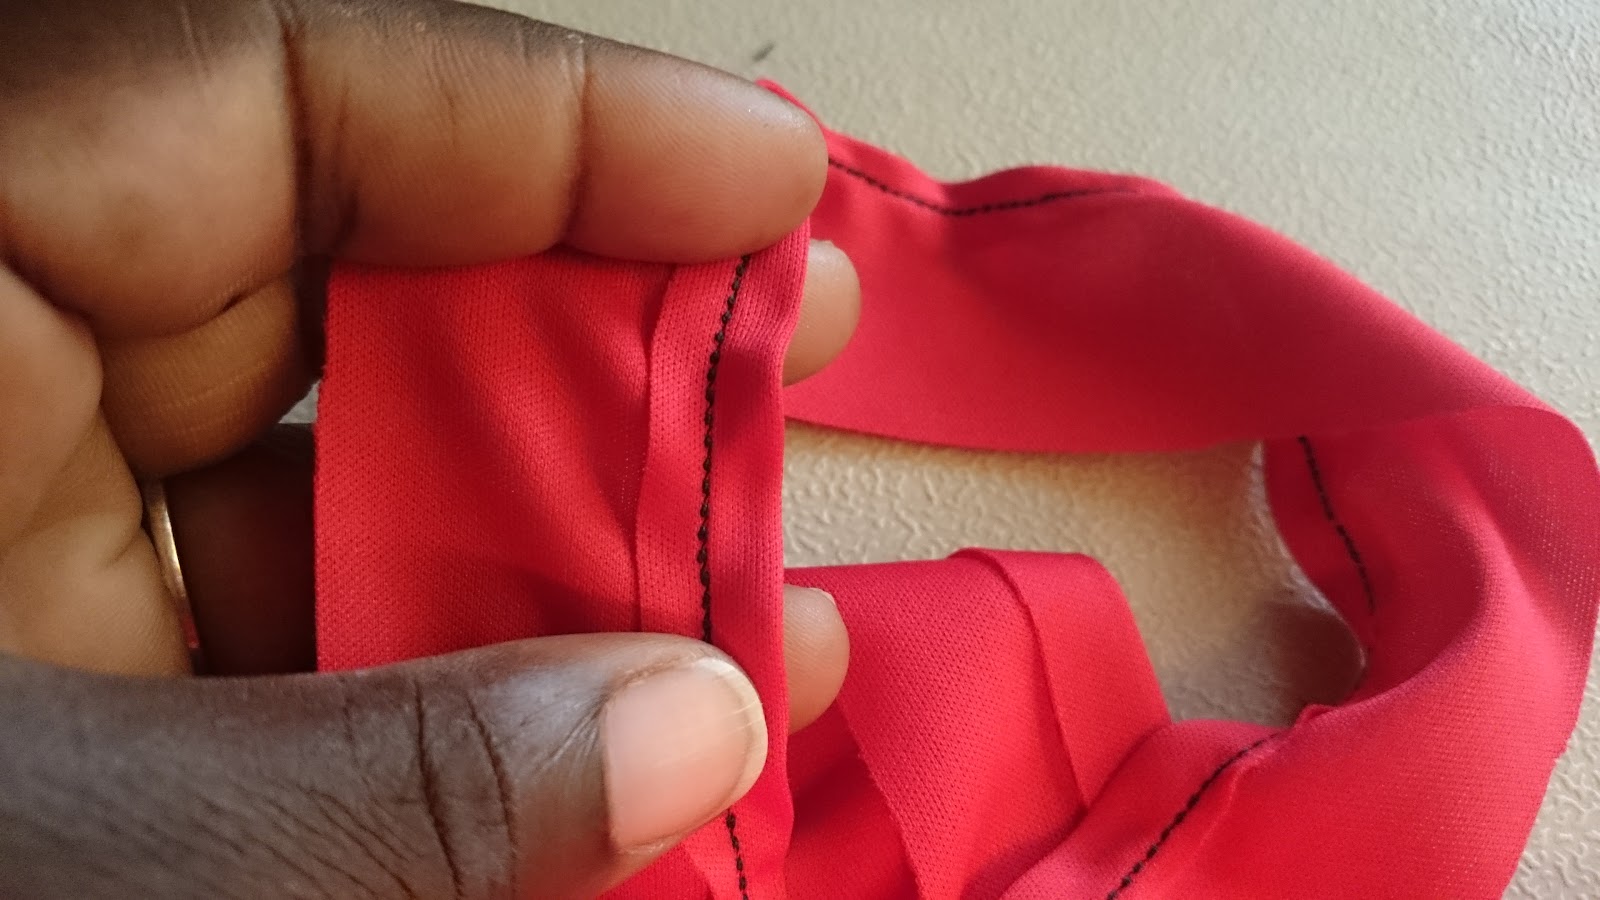
Measuring and Cutting the Fabric
Once I reviewed youtube.com videos and a couple of sewing blogs, I knew exactly how I wanted to do the ruffle. The first thing was to measure the bottom of the dress. It was 35 inches in length which I multiplied by 2 and equals 70 inches.
 |
| Measure the bottom of dress |
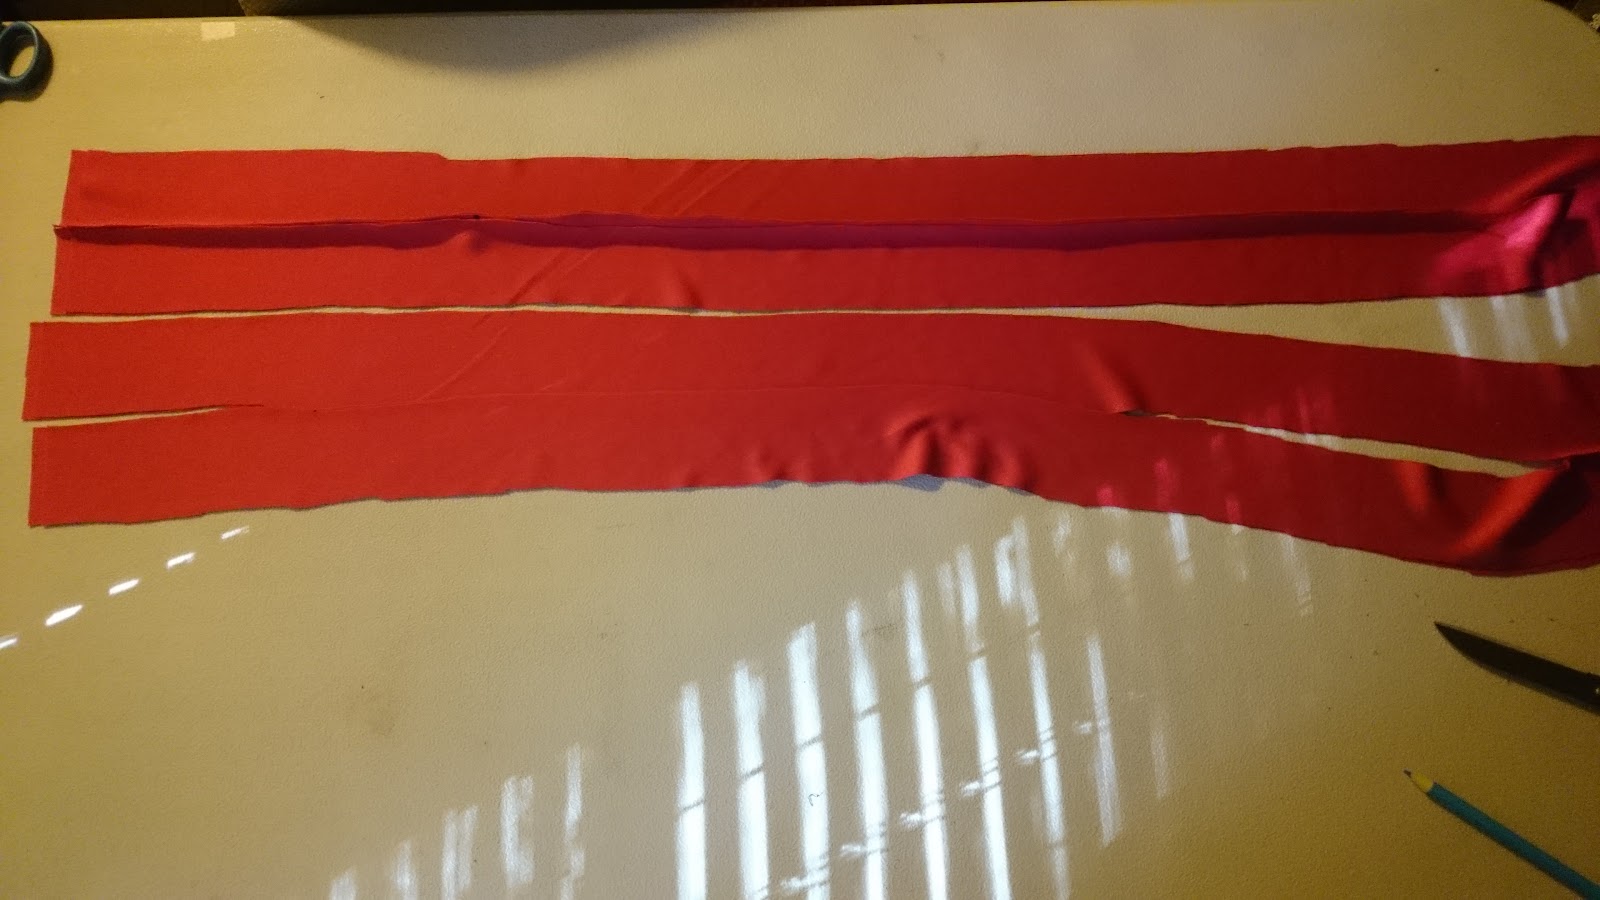
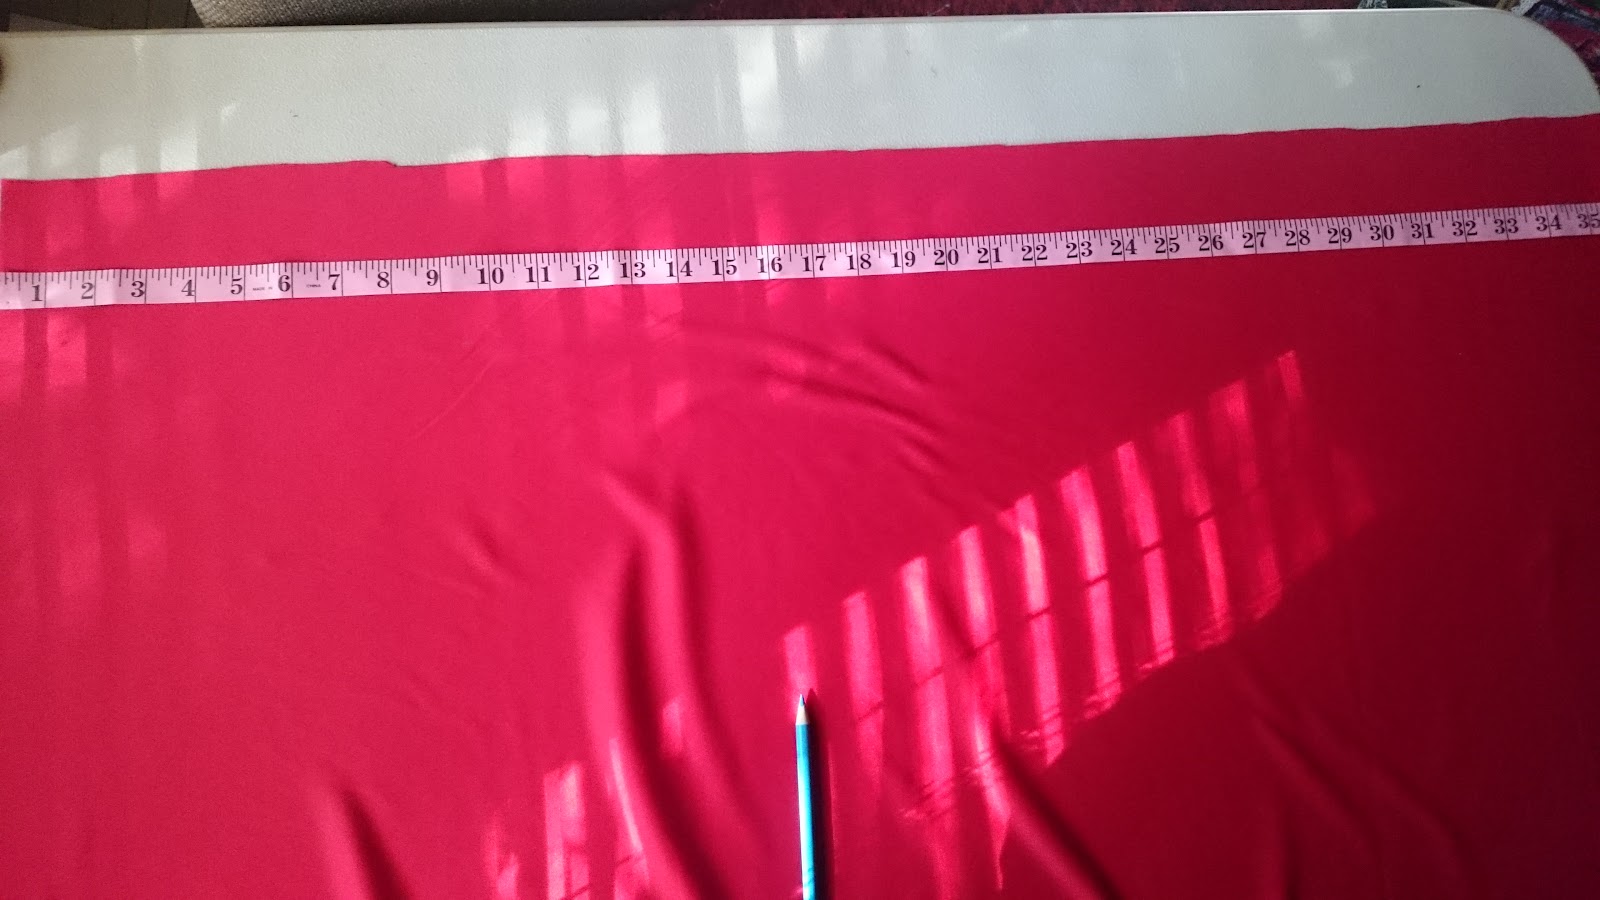
Now that the material was laid out I cut four pieces measuring 37 inches x 2 ½ inches. The extra inches would allow for the seams and gathering.
 |
| Cut fabric |
 |
| Measure and mark fabric |
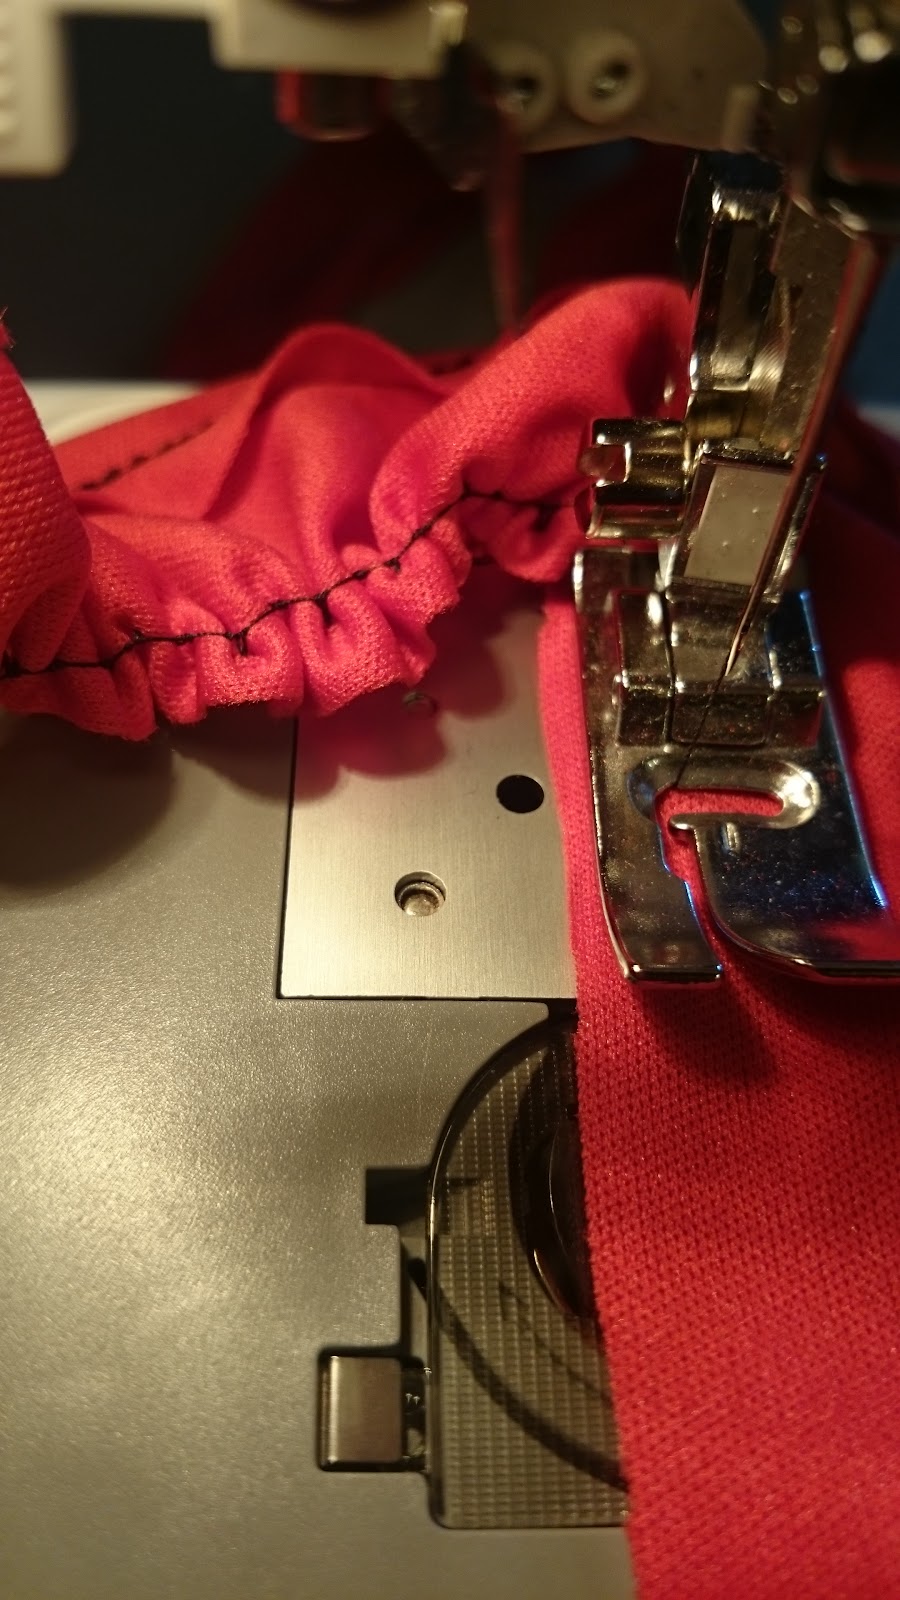
Sewing the Pieces Together.
 |
| Sew two pieces together |
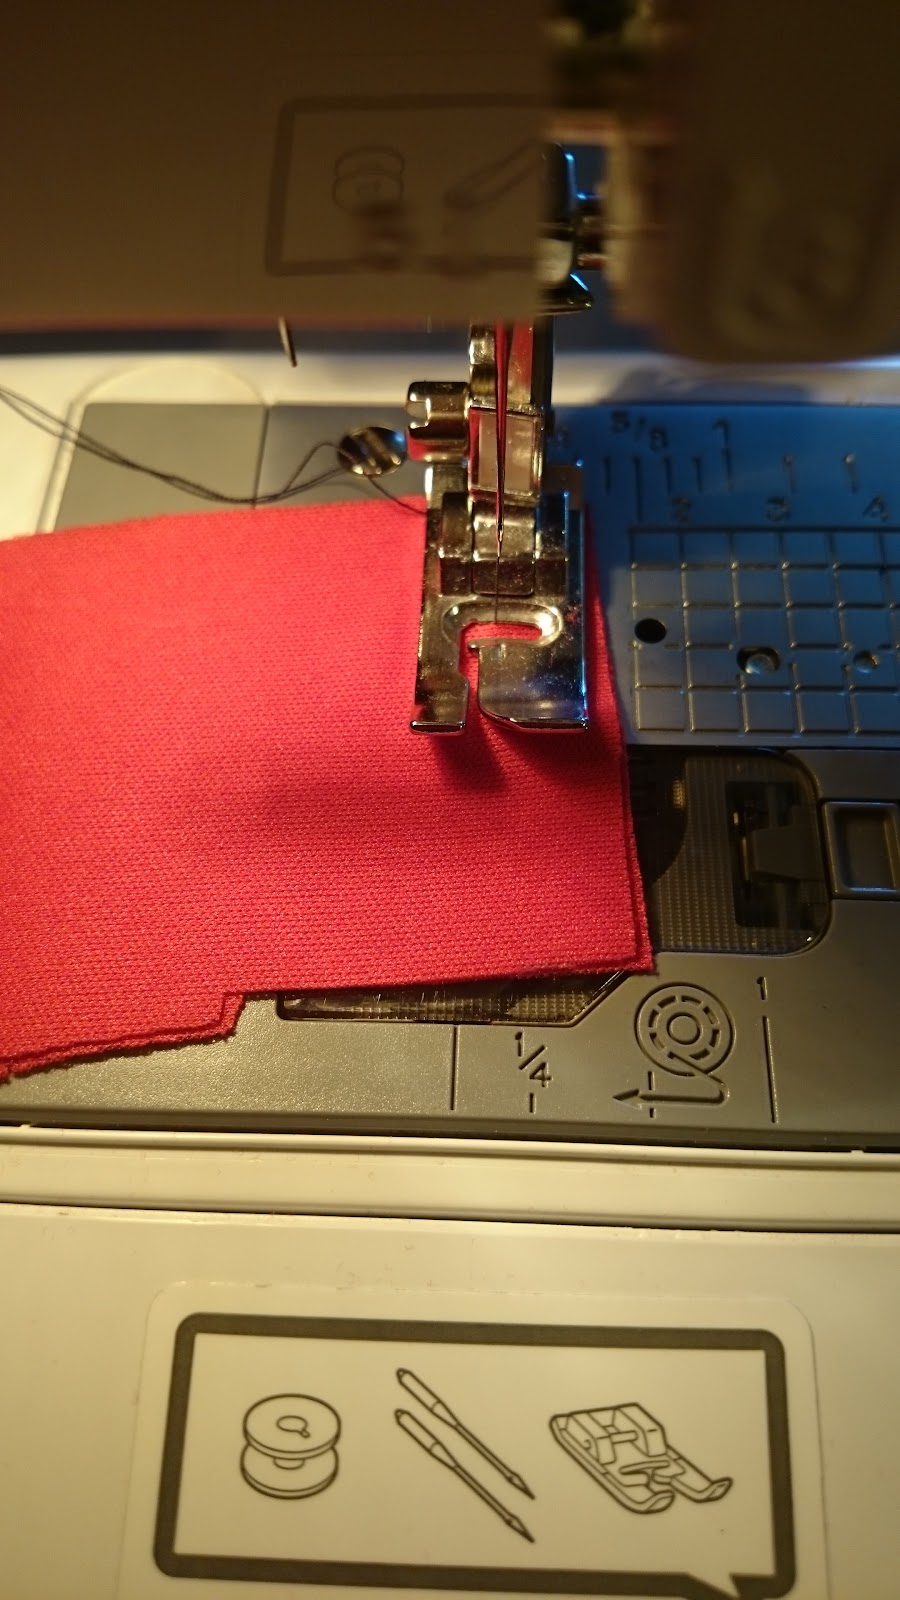
Now with that part out of the way, place the right sides of two fabric pieces together and stitch the side seams. (The “right side” means the printed or pretty surface of the fabric.)
 |
| Fold & Iron the hem |
I learned a while ago that it is a good idea to iron your seams open as well as the hem fold.
Once ironed its time to hem the ruffle. To do this, my sewing machines owner’s manual becomes a great reference, because all sewing machines are not created equal. I needed to figure out which setting to use based upon the type of fabric (stretch knit). I used pattern setting 14 which is a Triple Stretch Stitch.
 |
| Stitch hem |
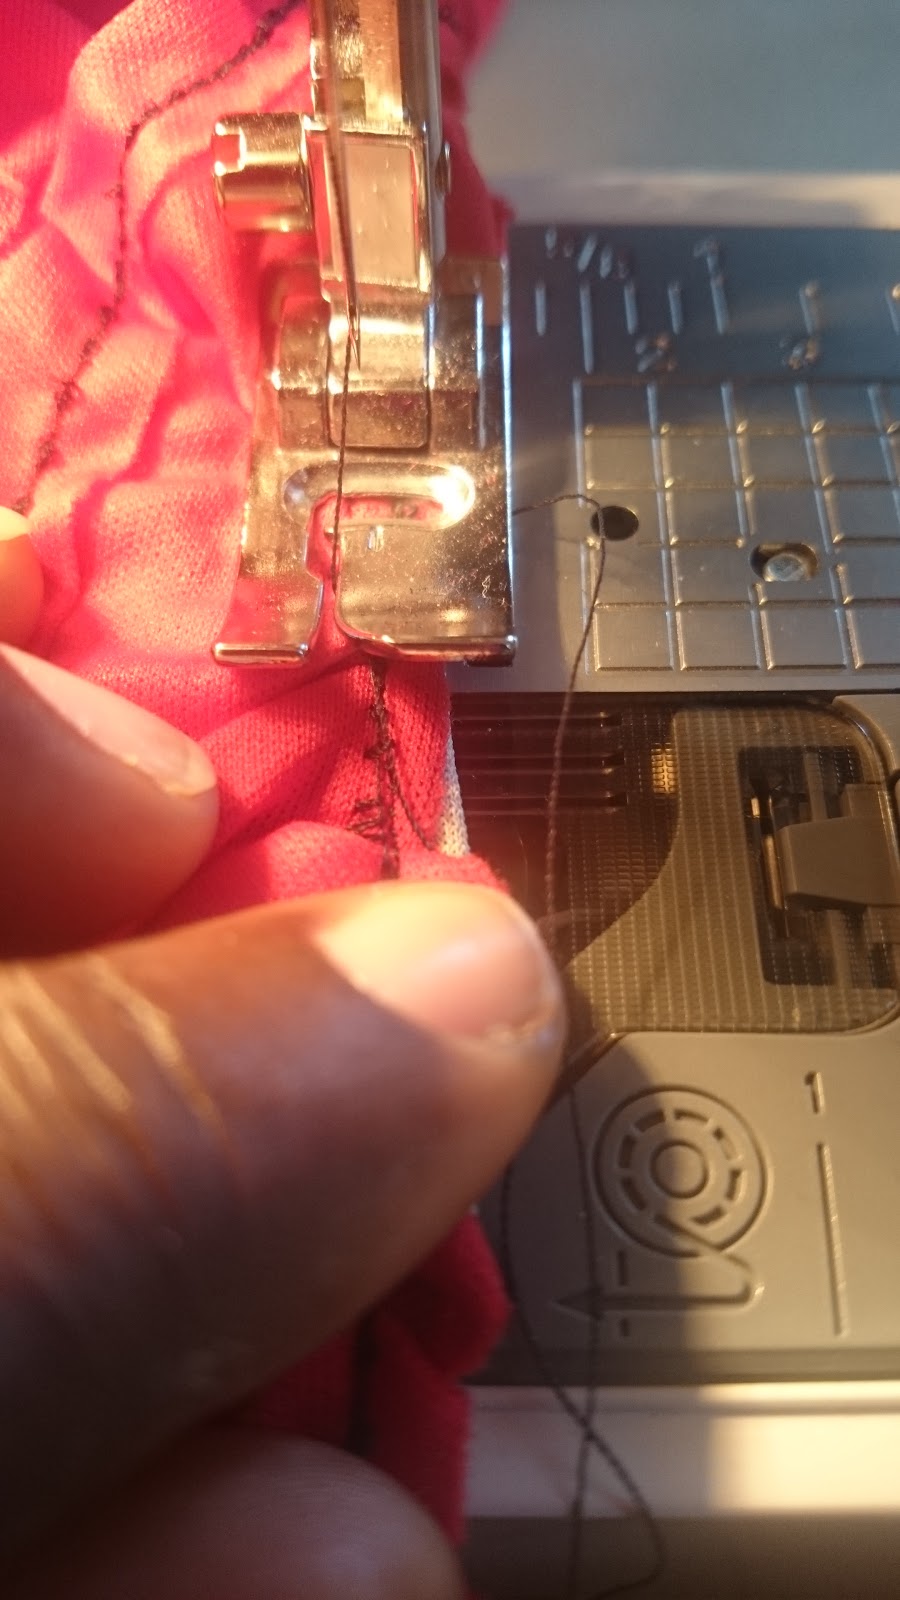
What I did wrong at this step - I neglected to use a scrap piece of fabric to test my new stitch settings. As a result, I jammed up my machine because the fabric didn’t feed correctly. (I mistakenly changed the tension setting also).
The fix - I used scotch tape and a marker to label my machine and a scrap piece of fabric to test the settings.
Gathering the Ruffle
 |
| Gather the fabric |
In order to gather the ruffle, I changed the pattern to a straight stitch and the length to the longest one on the machine. Then slowly feeding the fabric the machine automatically gathered the fabric.
Sewing the Ruffle to the Dress
 |
| Pin Ruffle to Dress |
 |
| Stitch Ruffle to Dress |
Stitch both ruffles slowly while removing the pins.
Comments
Post a Comment